WHAT TO DO WITH LEFTOVER TILE FROM A PROJECT
Posted March 14, 2018
WHAT TO DO WITH LEFTOVER TILE FROM A PROJECT
Do you know what one of my favorite things on the planet is? Well–besides red lipstick, black velvet pants and trying to take pictures of my hair in the self-checkout lane.
One of my favorite things is to think of projects from things that other people were going to get rid of. Toss. Leave behind on the curb. Let sit in the garage until bell bottoms were a thing again.
So when one of the most amazing tile companies on the planet, Jeffrey Court, asked me to create a project people could create from their leftover tile?
I was all over it.
So I thought and planned and dreamed and came up with something for the new house.
Here’s my version of what to do with leftover tile from a project.

I tiled the back of this bookcase.
This project only took about 10 squares of tile. You can see this honeycomb tile with all of the other incredible tile selections that Jeffrey Court has to offer here.
If you don’t have leftover tile, you can always pick up a few squares at your local home improvement store, too. Want to make your own? Here’s how we DIY’d our tile bookcase.

BEFORE BOOKCASE
Here’s our before bookcase.
When choosing a bookcase for this project, you will want to find one with removable shelves. It’s not a dealbreaker if you don’t. One of our shelves wasn’t removable and the project turned out fine. It just would have been so much easier if both shelves would have been removable and we just tiled the back of the bookcase and inserted the shelves after. It would have saved so much time with cutting the tile. This is a bookcase I got at an auction for $17.
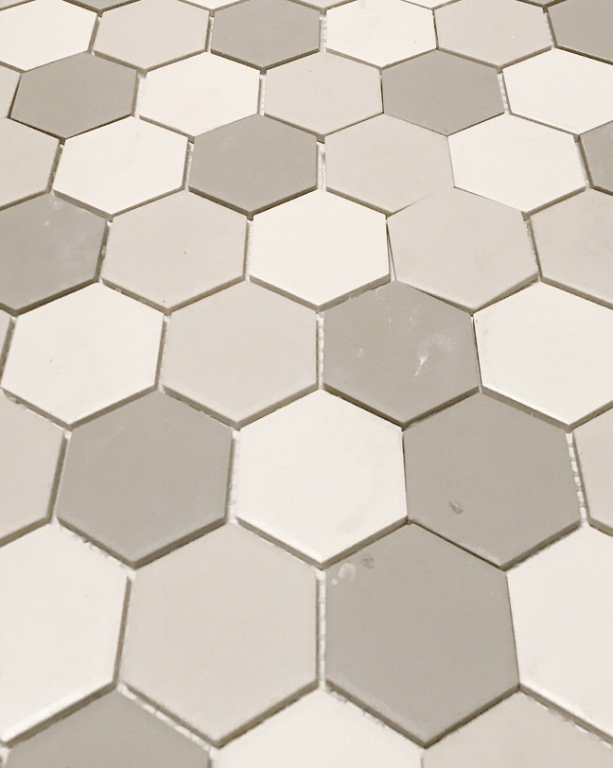
CHOOSE YOUR TILE
This is the tile I used for the project. This tile comes in a sheet, so it made the entire tiling project so much easier. Smaller tile like this works better than larger tile for this project because it creates more visual interest.
MEASURE TILE AND CUT
For this project, we just placed the tile in the back of the bookcase and measured where the cuts were. Then I took the tiles with the markings where the cuts should be to my local home improvement store and had them cut the tile.
I’ve found most home improvement stores are willing to help if you only have a few cuts. Having them cut the tile made the project so much easier.After you have the tiles cut, bring them home and lay them in the bookcase as shown to make sure they fit.

ADHESIVE
The next step is the adhesive. You can find tile adhesive in the tile section of the home improvement store. It usually comes in a tub like this.
We spread the adhesive with a plastic trowel on the back of the bookcase. You want enough adhesive to ensure your tile adheres properly.
Follow the manufacturer’s directions on your project.
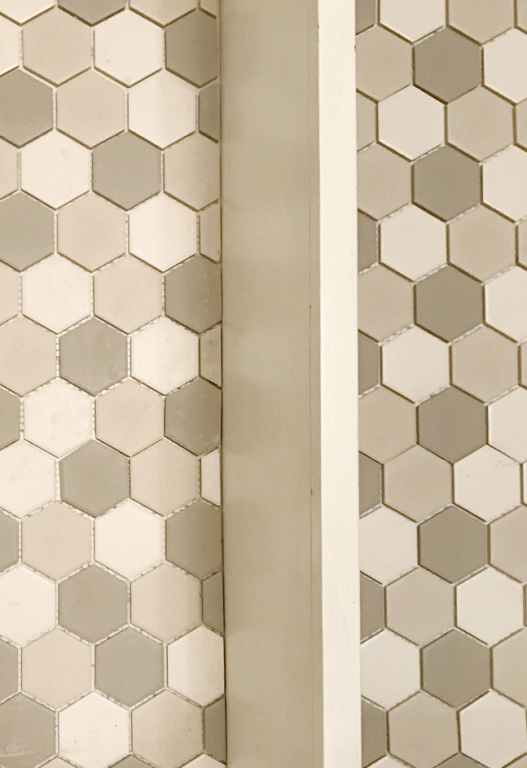
PRESS TILE IN PLACE
After you have applied the adhesive, press tile in place.
This tile came in sheets, so the tiles were evenly spaced for the project. Keep placing tiles on the adhesive until all tiles are in place. We let our adhesive sit overnight.

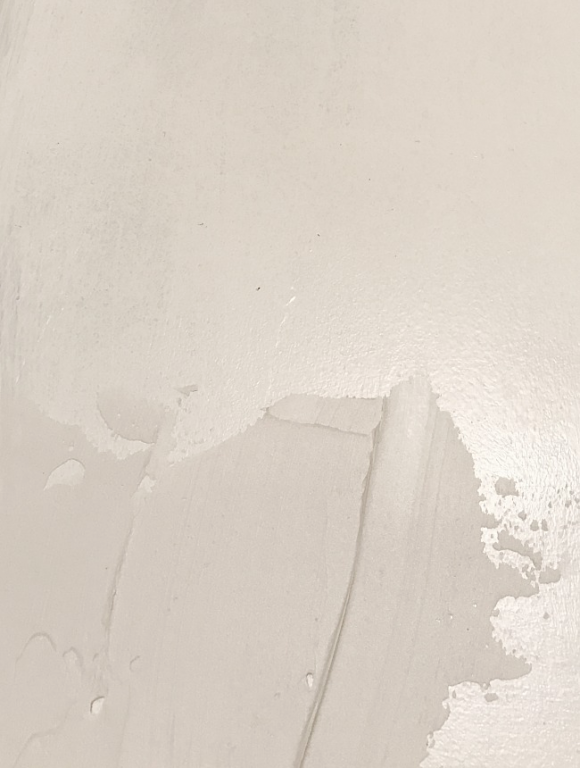
APPLY GROUT
The next step is to apply grout. You can buy grout pre-mixed or it comes in powder form that you mix yourself. Because the project was a small one, I got pre-mixed grout to save time.
Using a plastic trowel, apply grout to the tiles. Make sure to press the grout down between the tiles with the trowel. After all your tiles have grout between them, go back and remove as much grout as possible from the top of the tiles before it dries. This will make your next step so much easier.
Follow manufacturer’s directions on how long the grout needs to set up before you sponge the top. Our grout sat for about 10 minutes.
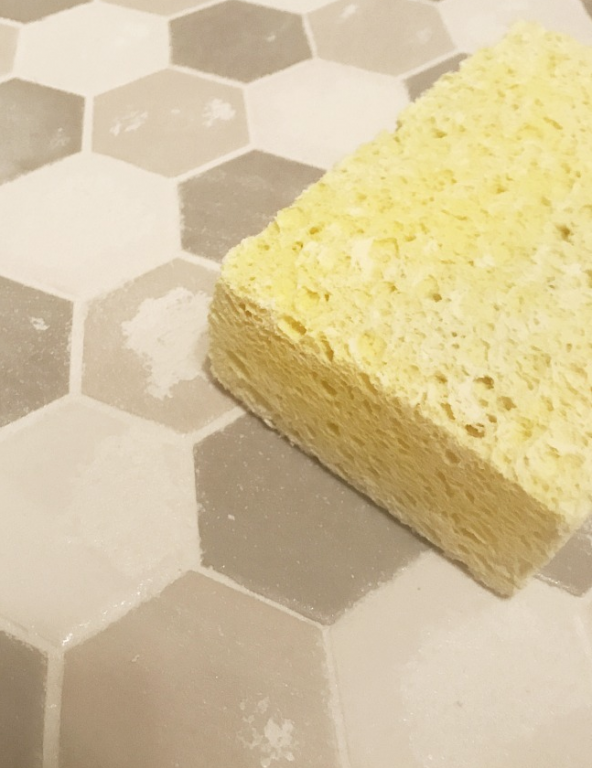
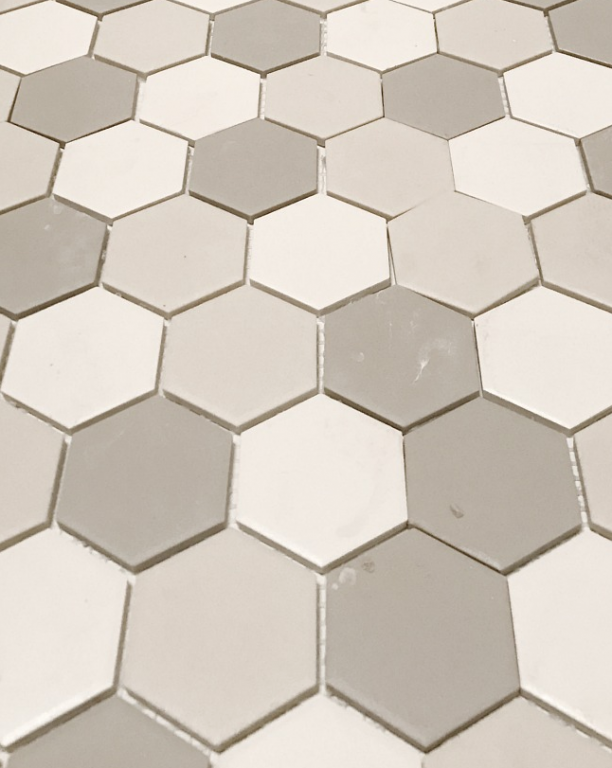
REMOVE TOP LAYER OF GROUT WITH A SPONGE
Lastly, you will want to use a dampened sponge to wipe off the top of the tiles. Keep wiping until the grout is removed from the top of the tile. It can be a little challenging. My best tip. Wipe all the grout until you think you are done. And then? Wipe it again to remove any haze.


I’m so happy with how it turned out. Who knew that tile sitting around in a garage or basement or back porch could look so good? My bookcase is happy.
I’m happy. Life is good.
But life with red lipstick, black velvet pants and leftover tile is AMAZING.
Published from https://thistlewoodfarms.com/leftover-tile-project/
disclosure: A giant shout out to Jeffrey Court for partnering with me on this post.
All opinions are my own.
Please see my disclosure page for more information.


5 Comments
Love everything you create. Amazing. Take care and God bless.
Great project KariAnne with very easy to follow directions.
Love this idea. I have some tile I bought and never used. Now I know what I’m going to do. Thank you.
I loved this project. You are giving me so many fantastic ideas. Can’t wait to find THE house and get started.
She is a very talented lady. I enjoy all of her posts on her blog. Thanks for asking her to do a great project idea book.