Leftover Tile Project: DIY Play Kitchen Makeover
Posted May 29, 2019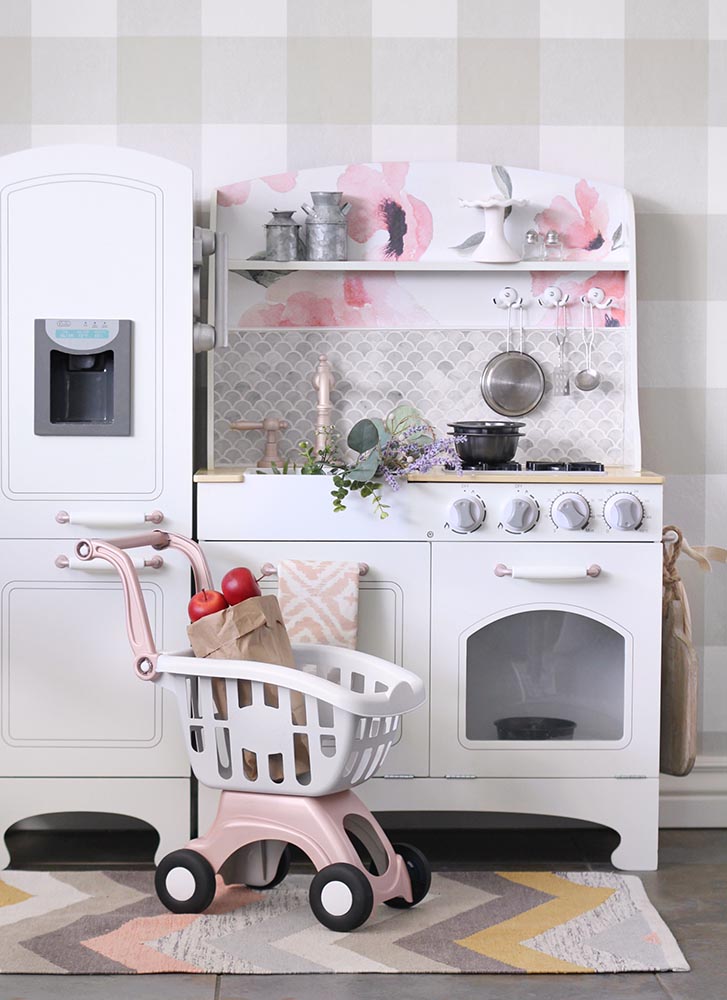
Guest post by Lolly Jane
Have you renovated your bathroom tile or added a new kitchen backsplash to spruce up your home this Spring? There’s a good chance you probably have leftover tile just laying around and you’re getting ready to toss ’em. Well before you take them to a recycling center, Kristi from Lolly Jane shares with us her leftover tile project that you can do for your kids!

What is it about making adult things kids size that makes it irresistibly cute? I purchased this fun modern play kitchen for my daughter that’s gender neutral but since it’s housed in her bedroom, I wanted it to match her girlie space. I immediately thought of Kelli’s glam farmhouse bathroom she made over last year for the Jeffrey Court Renovation Challenge with its gorgeous Allegro Fan Tile and watercolor wallpaper.

With little effort and leftover tile, I knew I could add a bit of that feminine flair. I saw Jeffrey Court’s natural stone Cloudy Daze Mosaic and loved how it paired with the touches of gray on the play kitchen. The classic marble design coordinates with the watercolor wallpaper perfectly.
Tools & Materials

To get started, I purchased Simple Fix Pre-mixed Adhesive & Grout in bright white at The Home Depot. It works great for bonding tile to hard surfaces without the use of a cement backer board. You’ll also need a putty knife (I used a plastic spreader), a small piece of tile border cut to size (our’s was metal coated in white), and a way to cut tile, of course.
Instructions Included
I first took the kitchen apart and measured the tile over it to know where to cut. After cutting the tile, I spread a thin layer of Simple Fix on the backsplash and pressed the tile into the grout. I wiped up the excess adhesive that pushed through the cracks of the tile and let it set.

Once hardened completely, I wallpapered the small area above the backsplash and then added the metal tile border using more adhesive. It’s important to let the Simple Fix harden before reassembling the play kitchen. If you don’t wait long enough, the heavy tile might slide out of place when putting the house together! That’s not a headache you want. ?

After reassembling the kitchen, I laid it on its back and grouted over the top and sides of the tile. I worked in small sections since the Simple Fix dries quickly and wiped away the excess adhesive. When it completely dried, I screwed the play faucet back into place and set the kitchen back upright… Fully ready for use!

Tiling a play kitchen backsplash is a really easy project and great for beginning tile DIYers. It instantly transforms any kitchen, adult or kid alike, to make it stand out. This is a great project to use leftover tile on since it requires such a small amount. The newly glammed play kitchen is just darling in my daughter’s room and I love that it flows with her existing decor!


