How To Create a Tiled Accent Wall
Posted October 10, 2019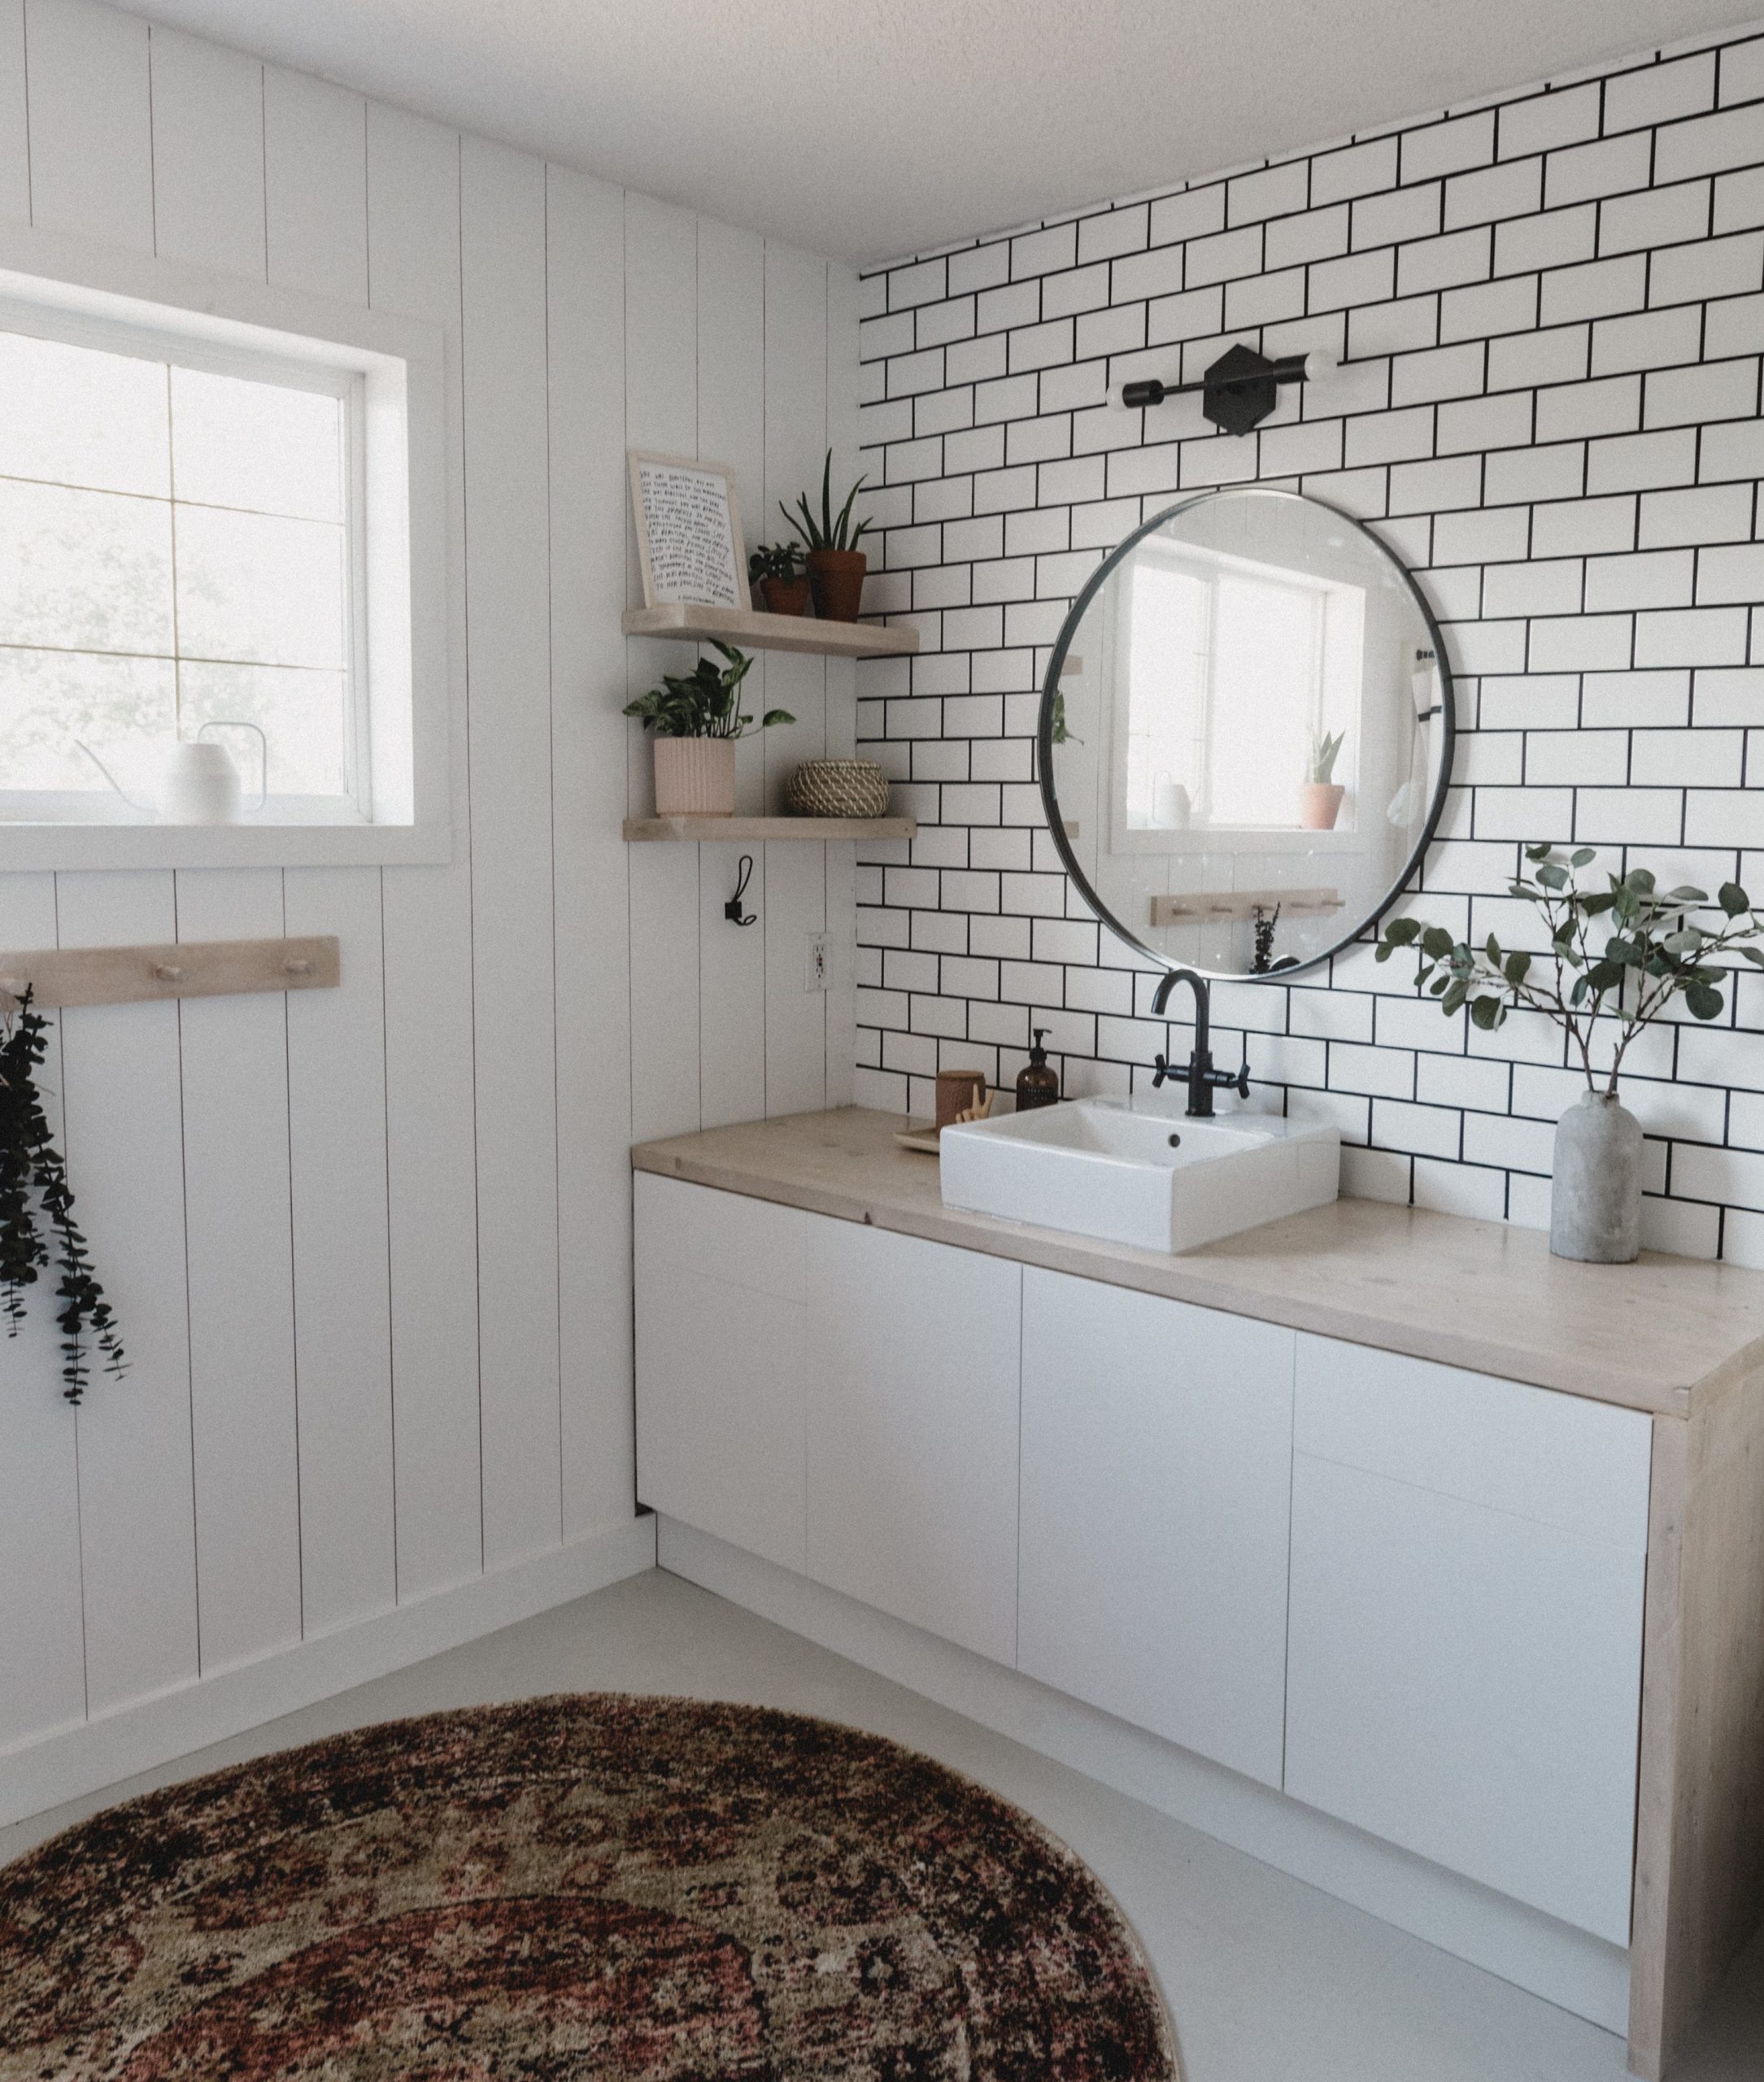
Guest post by Lindi Vanderschaaf of Love Create Celebrate with Sydney McInnes
Transform your bathroom in a weekend with a new bathroom accent wall! See how this DIY team tiled a whole wall to transform their existing space.
You know when your friend invites you to something, and you know immediately that it’s going to be amaaaaazing? That just happened to us. A friend asked us to cover over and teach them how to tile. So we did. We packed up all of our tile gear and headed over there on Saturday for an impromptu tile lesson and created a stunning bathroom accent wall in just one weekend! We also showed them how to hang a mirror on tile (or anything really!) with just one new drill bit. More to come on this part in our next guest post.
This before and after will amaze you! This was the before picture of the bathroom we went to. It belongs to the amazing Sydney (and her husband Zach) from Frankie and Grae.
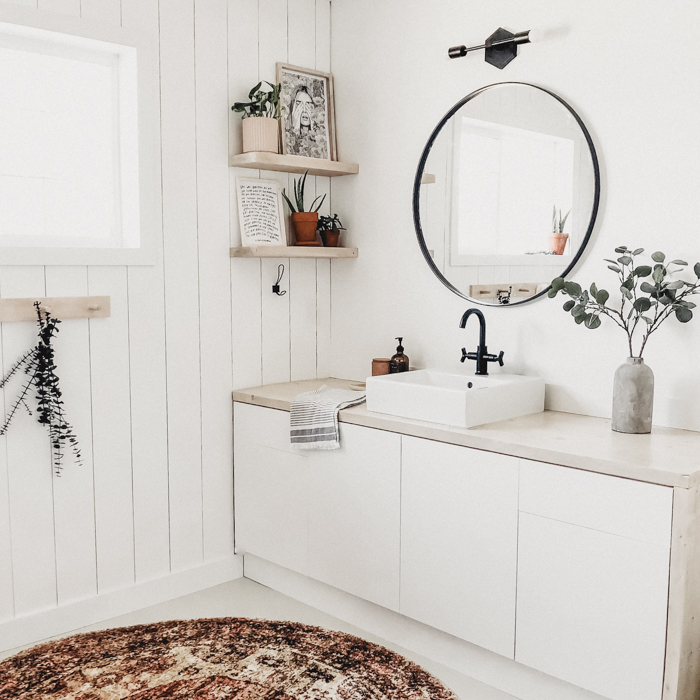
This bathroom was already beautiful, but when she told us she wanted to add a new bathroom accent wall I could already envision how stunning it would be!
Here are all the details you need to know about adding a bathroom accent wall in a weekend:
Prep: When you take down all of the shelving and decor and take a picture at night, the room looks pretty bare! lol. But we had to remove everything (including the toilet) and put drop cloths on every surface to protect everything from the mess were about to make with tile and grout.
ProTip: Be sure to use a level or laser level before and during installation, to be sure you don’t have any “waves” on your wall. This will help you have clean straight lines for your finished project.
Step 1: To tile the space. We used a gorgeous 3×6″ tile with 1/4″ grout lines. At times all four of us were helping, but when the ladies got busy, these men finished the entire wall (about 50 sq ft.) in about 8 hours (including stops for teaching and lunch).

We used mastic instead of thin set to adhere the tile because it’s a lot faster, and we didn’t need to worry about a perfect seal without air bubbles since this wall likely won’t get much water on it. Mastic typically is cleaner to put up, and faster, so it was a good choice!
I’d say 8 hours to tile an entire room is pretty good. When the tile was all up, the room already looked amazing. It made such a huge difference, but we were all super excited to grout the next day.
ProTip: Letting the tile dry overnight helps to ensure proper installation, so you don’t have issues down the road.
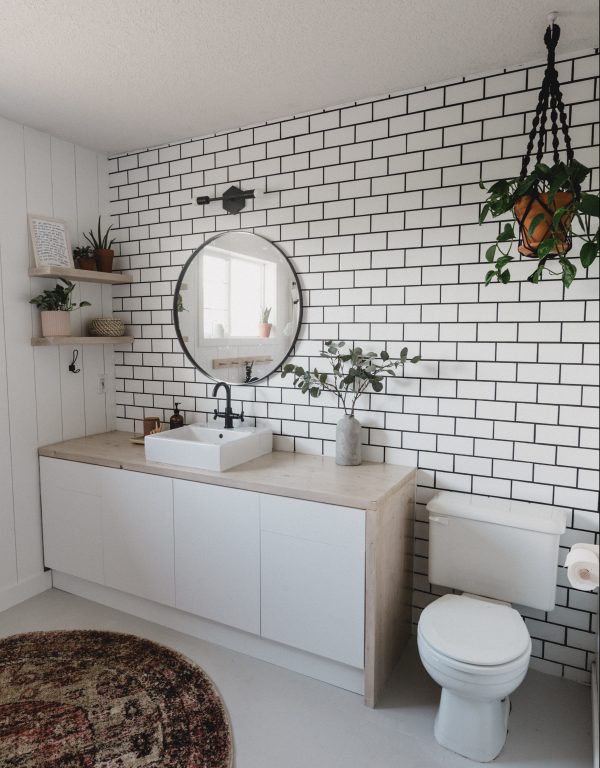
Step 2: Grouting the walls always look worse before it looks better. We added a deep grey (almost black) grout which is gorgeous against the white subway tiles!

The grout makes a huge mess. If ever you can do your tile work before your space is finished, we highly recommend it.
ProTip: Be sure to grout in sections and clean off the excess as you go so it doesn’t stick to your tile, causing you to work harder later to get it all off.
In this case, they already had a beautifully finished bathroom, so we did end up having to do a few touch-ups when the black grout got where it wasn’t supposed to be… (sorry about your ceiling Sydney!).
But it was worth it. Because in just two days, this bathroom had a gorgeous new feature wall.
And yours can too! Don’t limit yourselves to just a bathroom accent wall. Try applying this to your bedroom, living room, indoor/outdoor rooms and more. The possibilities are endless.
Get more project ideas on our inspiration page.


